Dashimaki Tamago Recipe
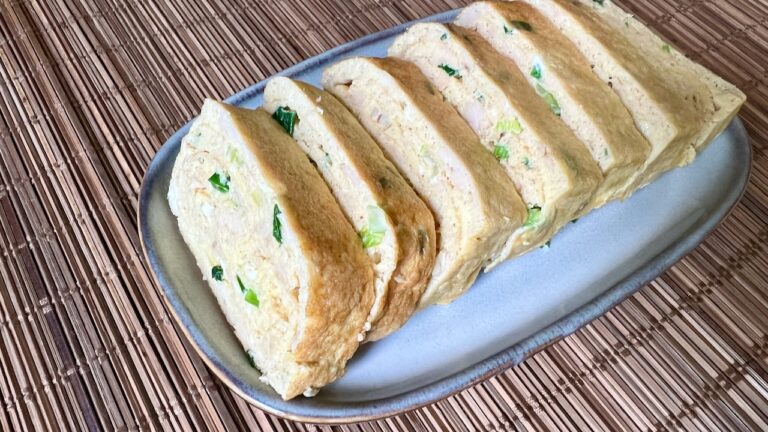
Dashimaki Tamago (だし巻き玉子) is a staple of Japanese cuisine — a rolled omelette similar to Tamagoyaki, but made with a generous amount of Dashi stock. It is one of the most beloved home-cooked and Kaiseki (formal Japanese course meal) dishes originating from the Kansai region. The name Dashimaki literally refers to the technique of rolling eggs mixed with Dashi, and the Dashi flavor truly takes center stage, with the egg serving almost as a vessel to carry it.
What’s Dashimaki Tamago?
Like many Japanese dishes, Dashimaki Tamago also varies by region. The Kansai-style (western Japan) Dashimaki Tamago is made with a generous amount of Dashi, with a little additional seasoning. The texture is soft and fluffy, melting in your mouth with every bite — and sweetness has no place here. In fact, many Kansai locals consider adding sugar an outright mistake. The Kanto-style (eastern Japan) Tamagoyaki, on the other hand, is sweetened generously with sugar and mirin, giving it a distinctly rich, sweet flavor.
Dashimaki Tamago shows up across many corners of Japanese food culture. It is most commonly enjoyed as part of a traditional breakfast, but it is equally at home as a snack at an Izakaya food bars, where it is typically served with grated daikon radish and a splash of soy sauce. At a Kaiseki restaurant, it takes on a more elevated role — a dish that quietly reveals the quality of the chef’s Dashi broth. It also travels well, making it a reliable and delicious addition to a bento box even when cold. And in a pot of Oden, it absorbs the surrounding broth beautifully, its umami deepening with every simmer.
The main difference between Tamagoyaki and Dashimaki Tamago comes down to one key ingredient — Dashi. As the name suggests, Dashimaki Tamago is made with Dashi mixed directly into the eggs, which adds extra moisture and gives it a noticeably softer, more delicate texture. It can be harder to roll Dashimaki because of the extra moisture. The egg mixture tends to stick to the pan more, so it is a good idea to oil the pan often during cooking.
As for the tools, a rectangular Tamagoyaki pan is essential — there is really no substitute. Among professional cooks, copper pans are the gold standard, prized for their even heat distribution and the soft, delicate texture they produce. At home, a non-stick version does the job perfectly well. The pans also come in two shapes: the taller, narrower Kansai style, and the wider, shorter Kanto style — a small but telling detail that reflects just how regional this dish truly is.
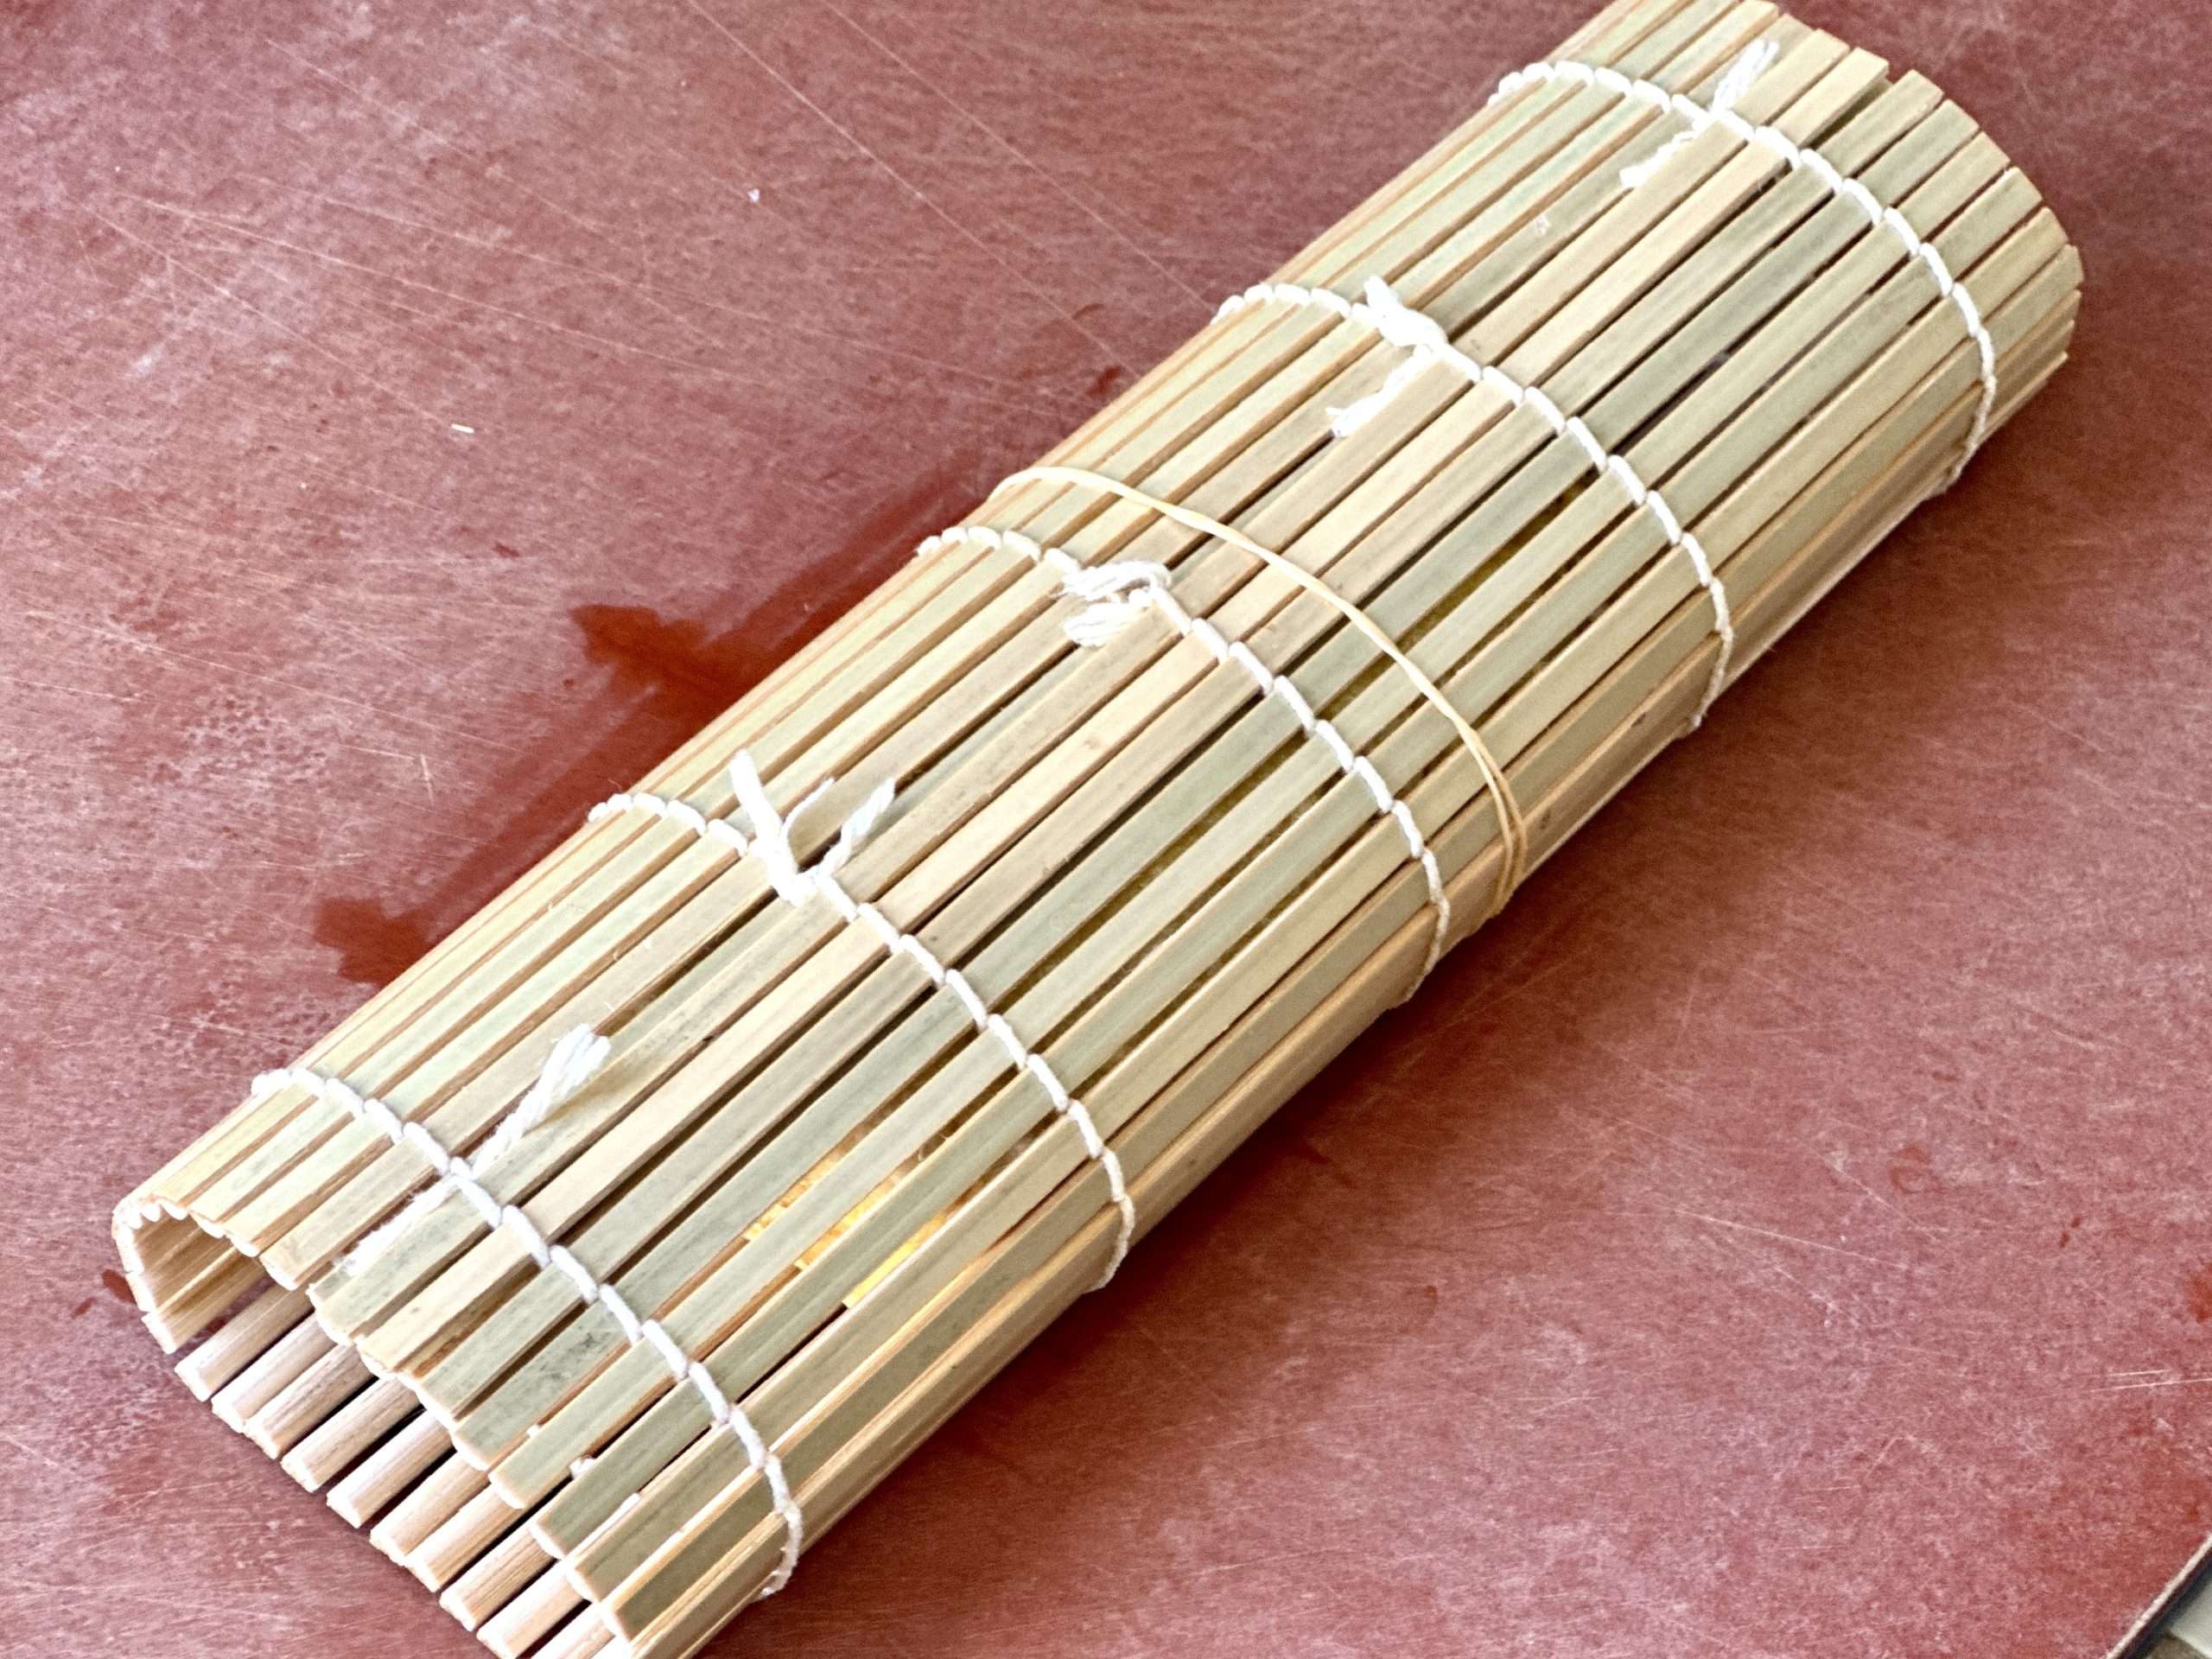
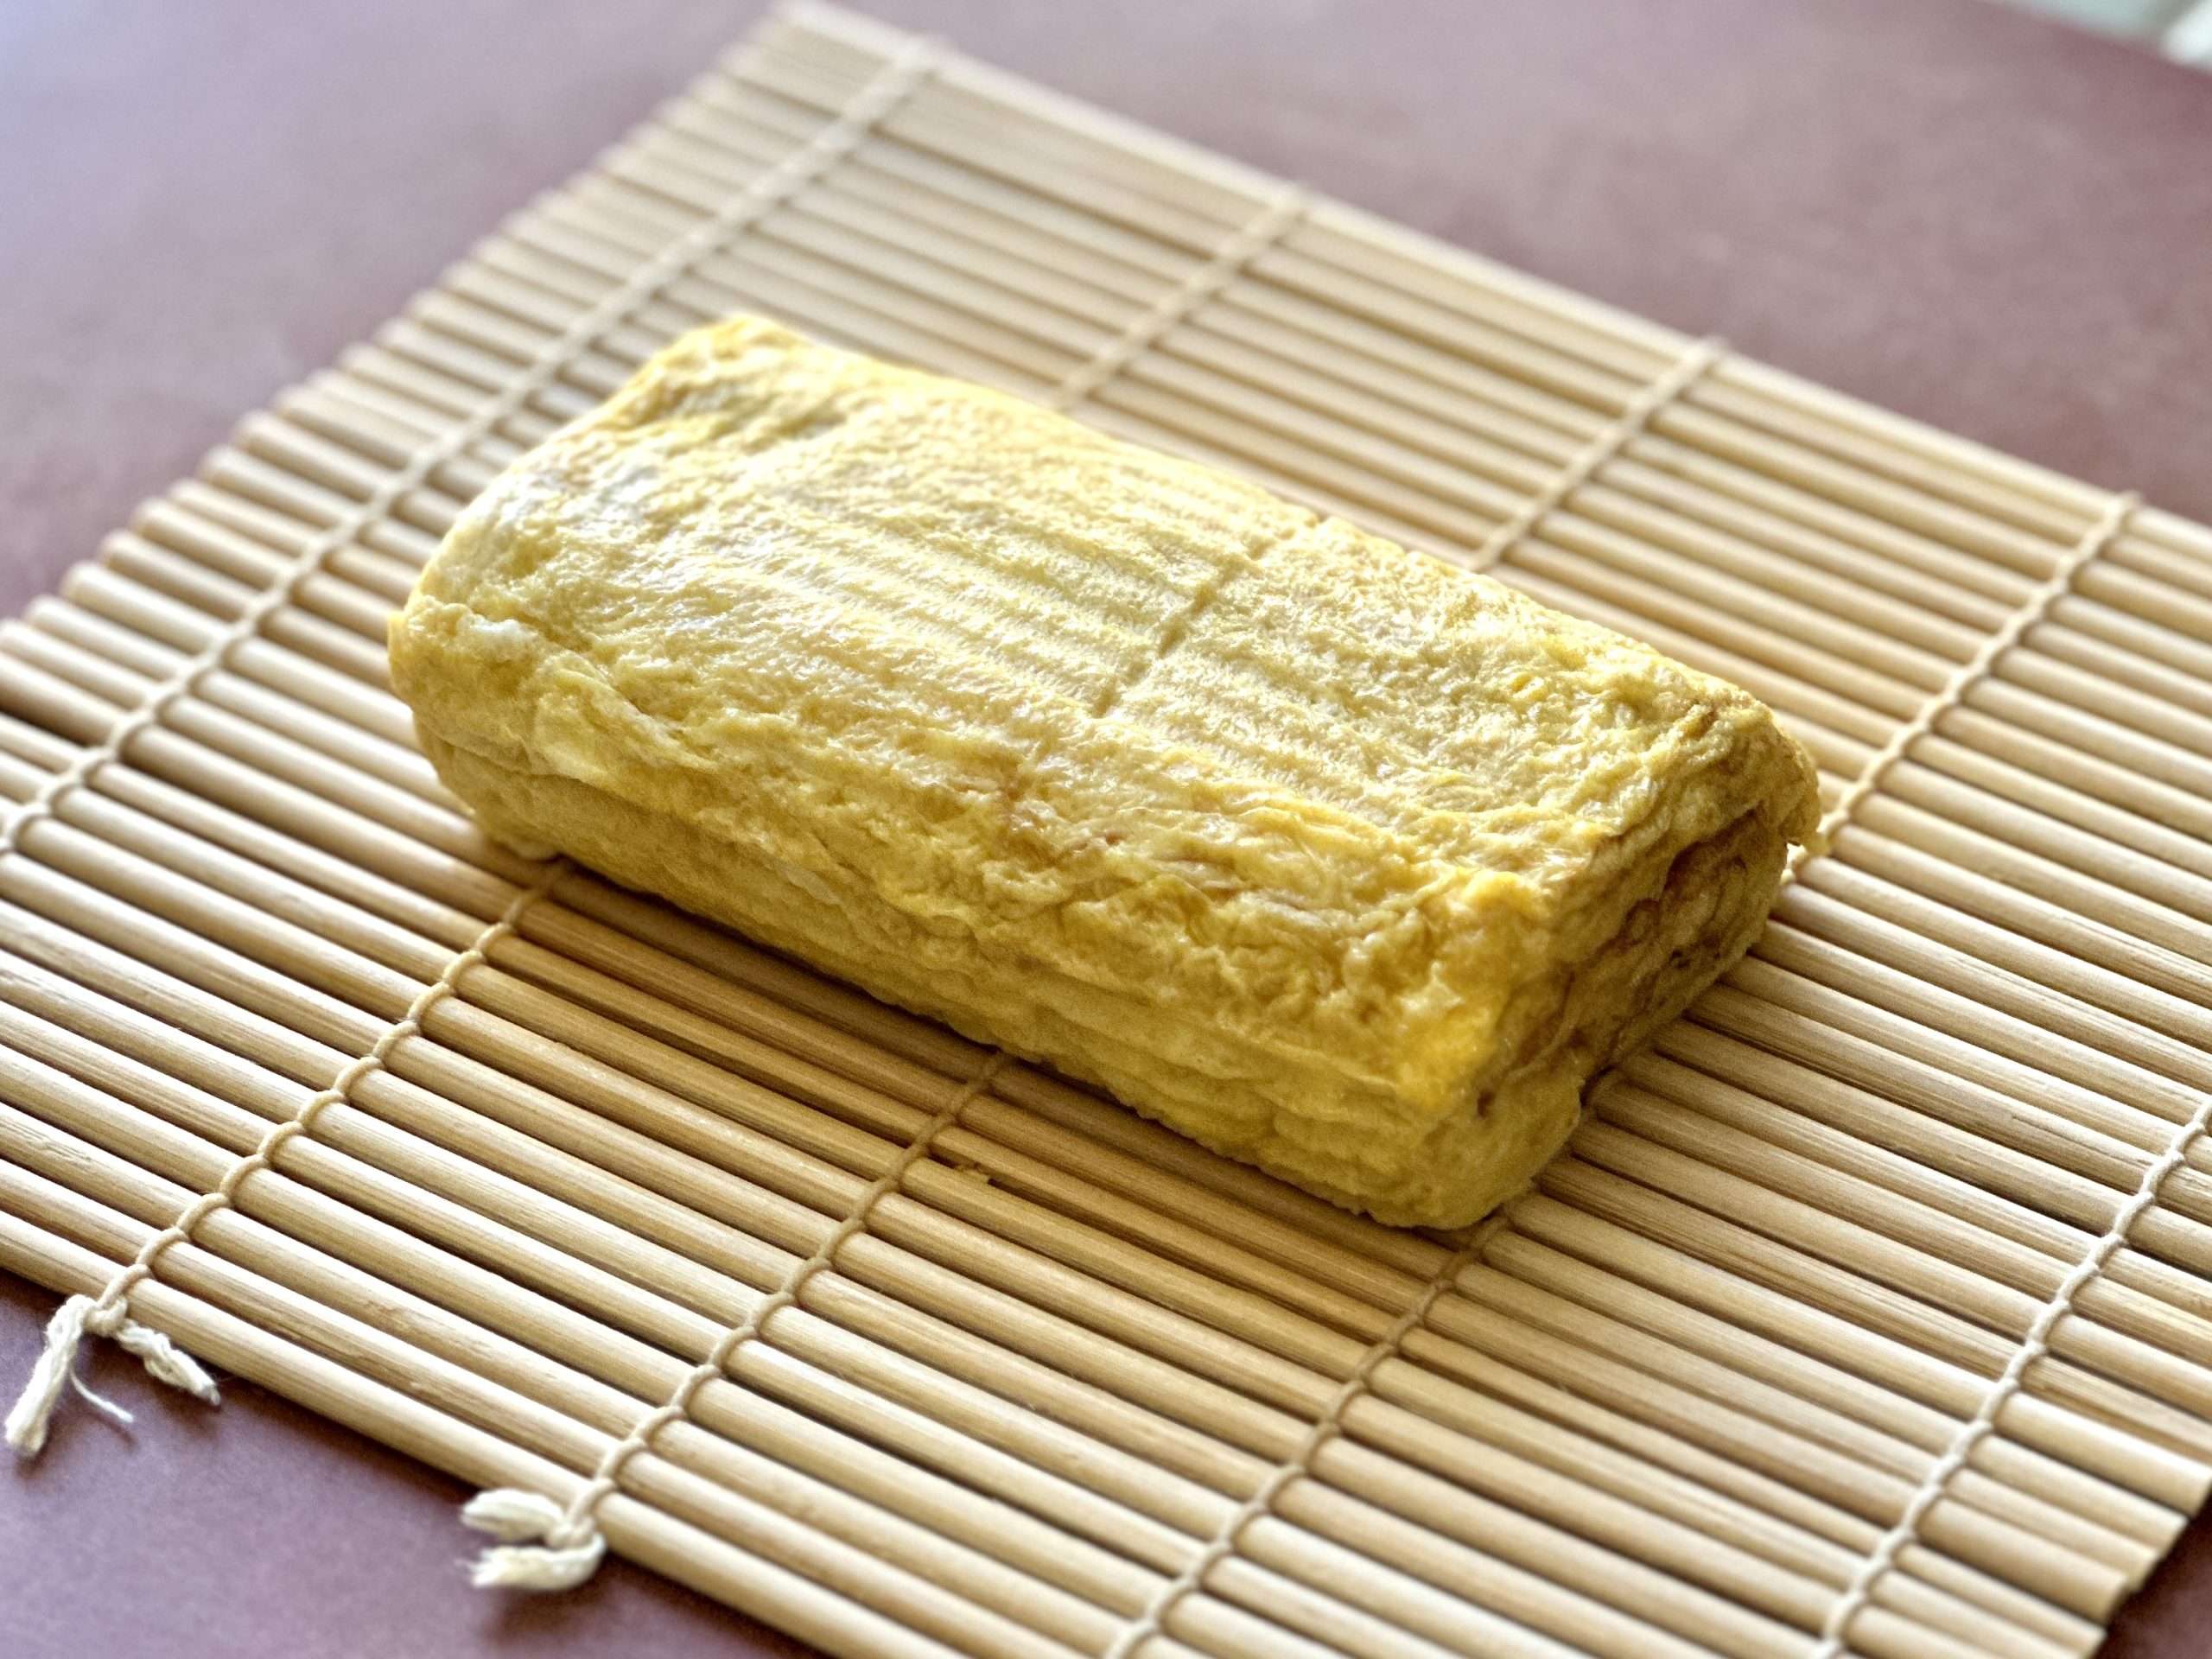
One other distinguishing step is the finishing touch: Dashimaki Tamago is often shaped using a bamboo sushi mat. Simply wrap the freshly rolled egg in the mat and let it cool. Once unwrapped, you’ll find beautiful ridged lines imprinted on the surface — a small detail that makes it look as good as it tastes.
Tips for Dashimaki Tamago
- Our Dashimaki Tamago falls somewhere between the Kansai and Kanto styles — we add a touch of sweetness with a small amount of sugar and mirin, though both can be reduced or omitted entirely based on your preference. If you do decide to increase the sweetness, keep a close eye on the heat, as sugar tends to brown quickly and can catch before you know it.
- Because of its higher moisture content, Dashimaki Tamago has a tendency to stick to the pan more than regular Tamagoyaki. A non-stick Tamagoyaki pan is highly recommended, and don’t be shy about adding oil frequently as you roll.
- As mentioned earlier, grated daikon radish with a splash of soy sauce is the classic accompaniment — simple, clean, and perfectly balanced. But feel free to get creative: chopped green onions or Shiso leaves add a fresh, herby brightness, while pickled red ginger brings a punchy little kick for those who like a bit of heat.
More recipes like Dashimaki Tamago
Video
Instructions
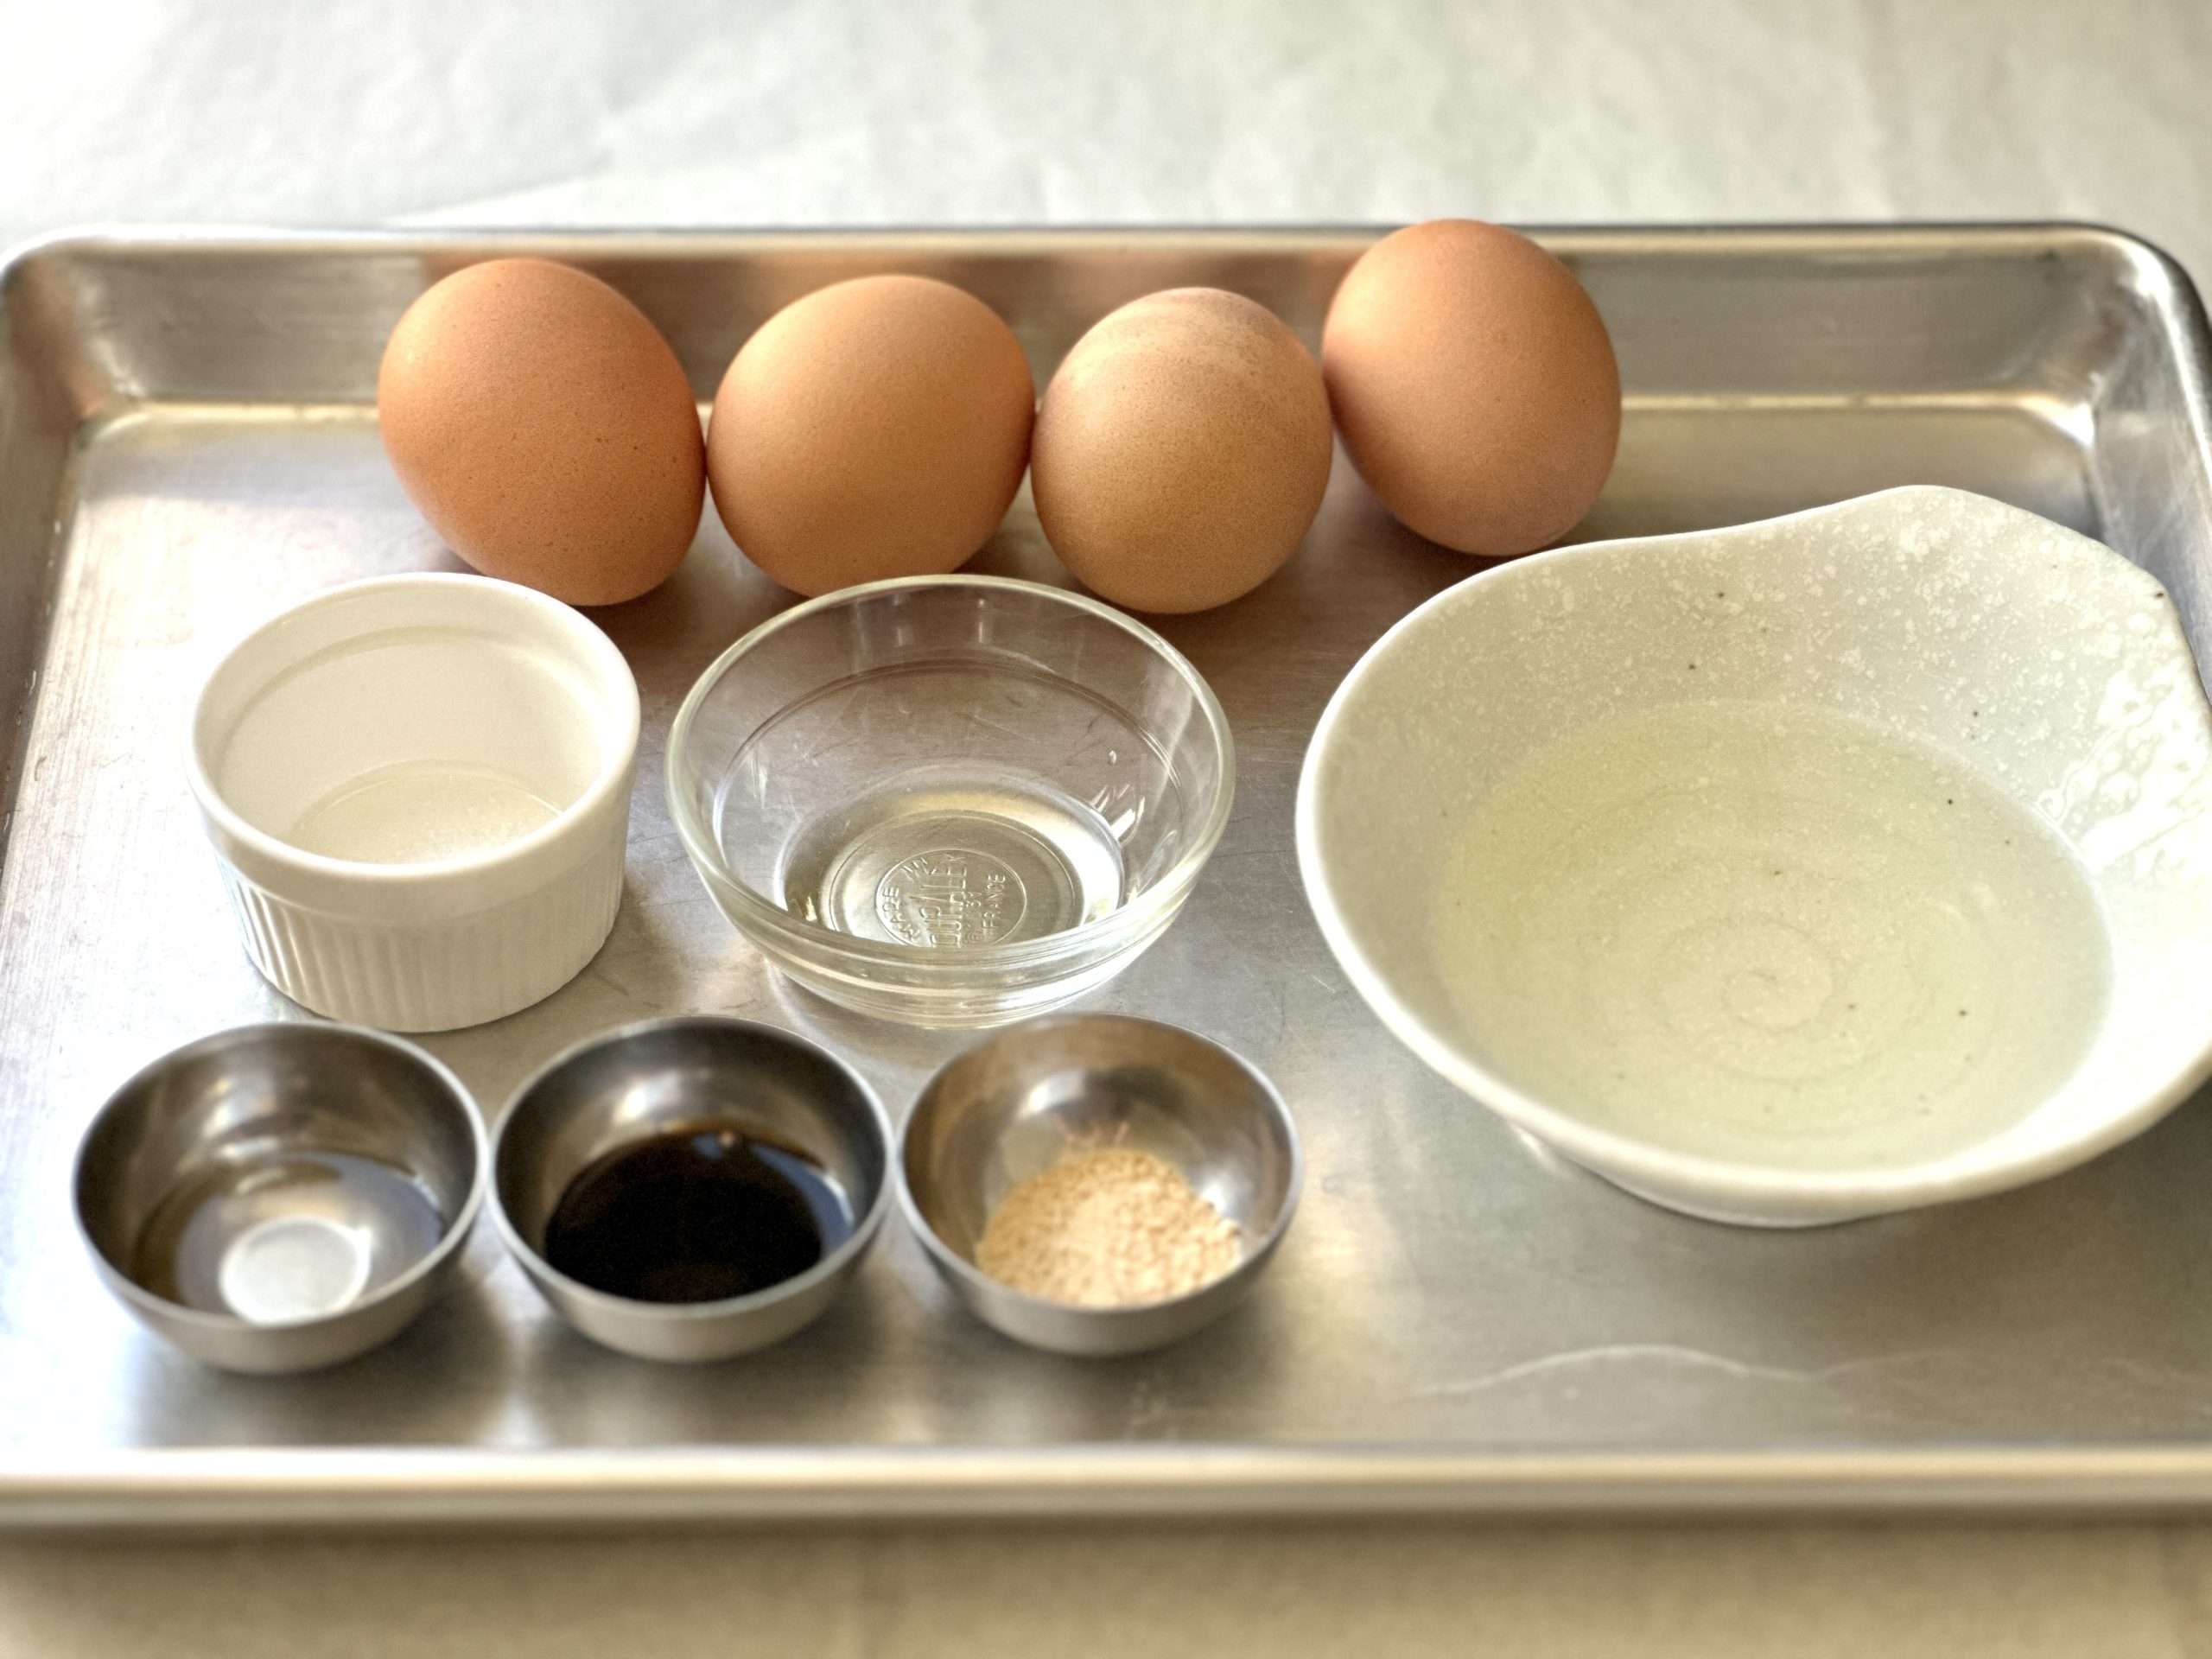
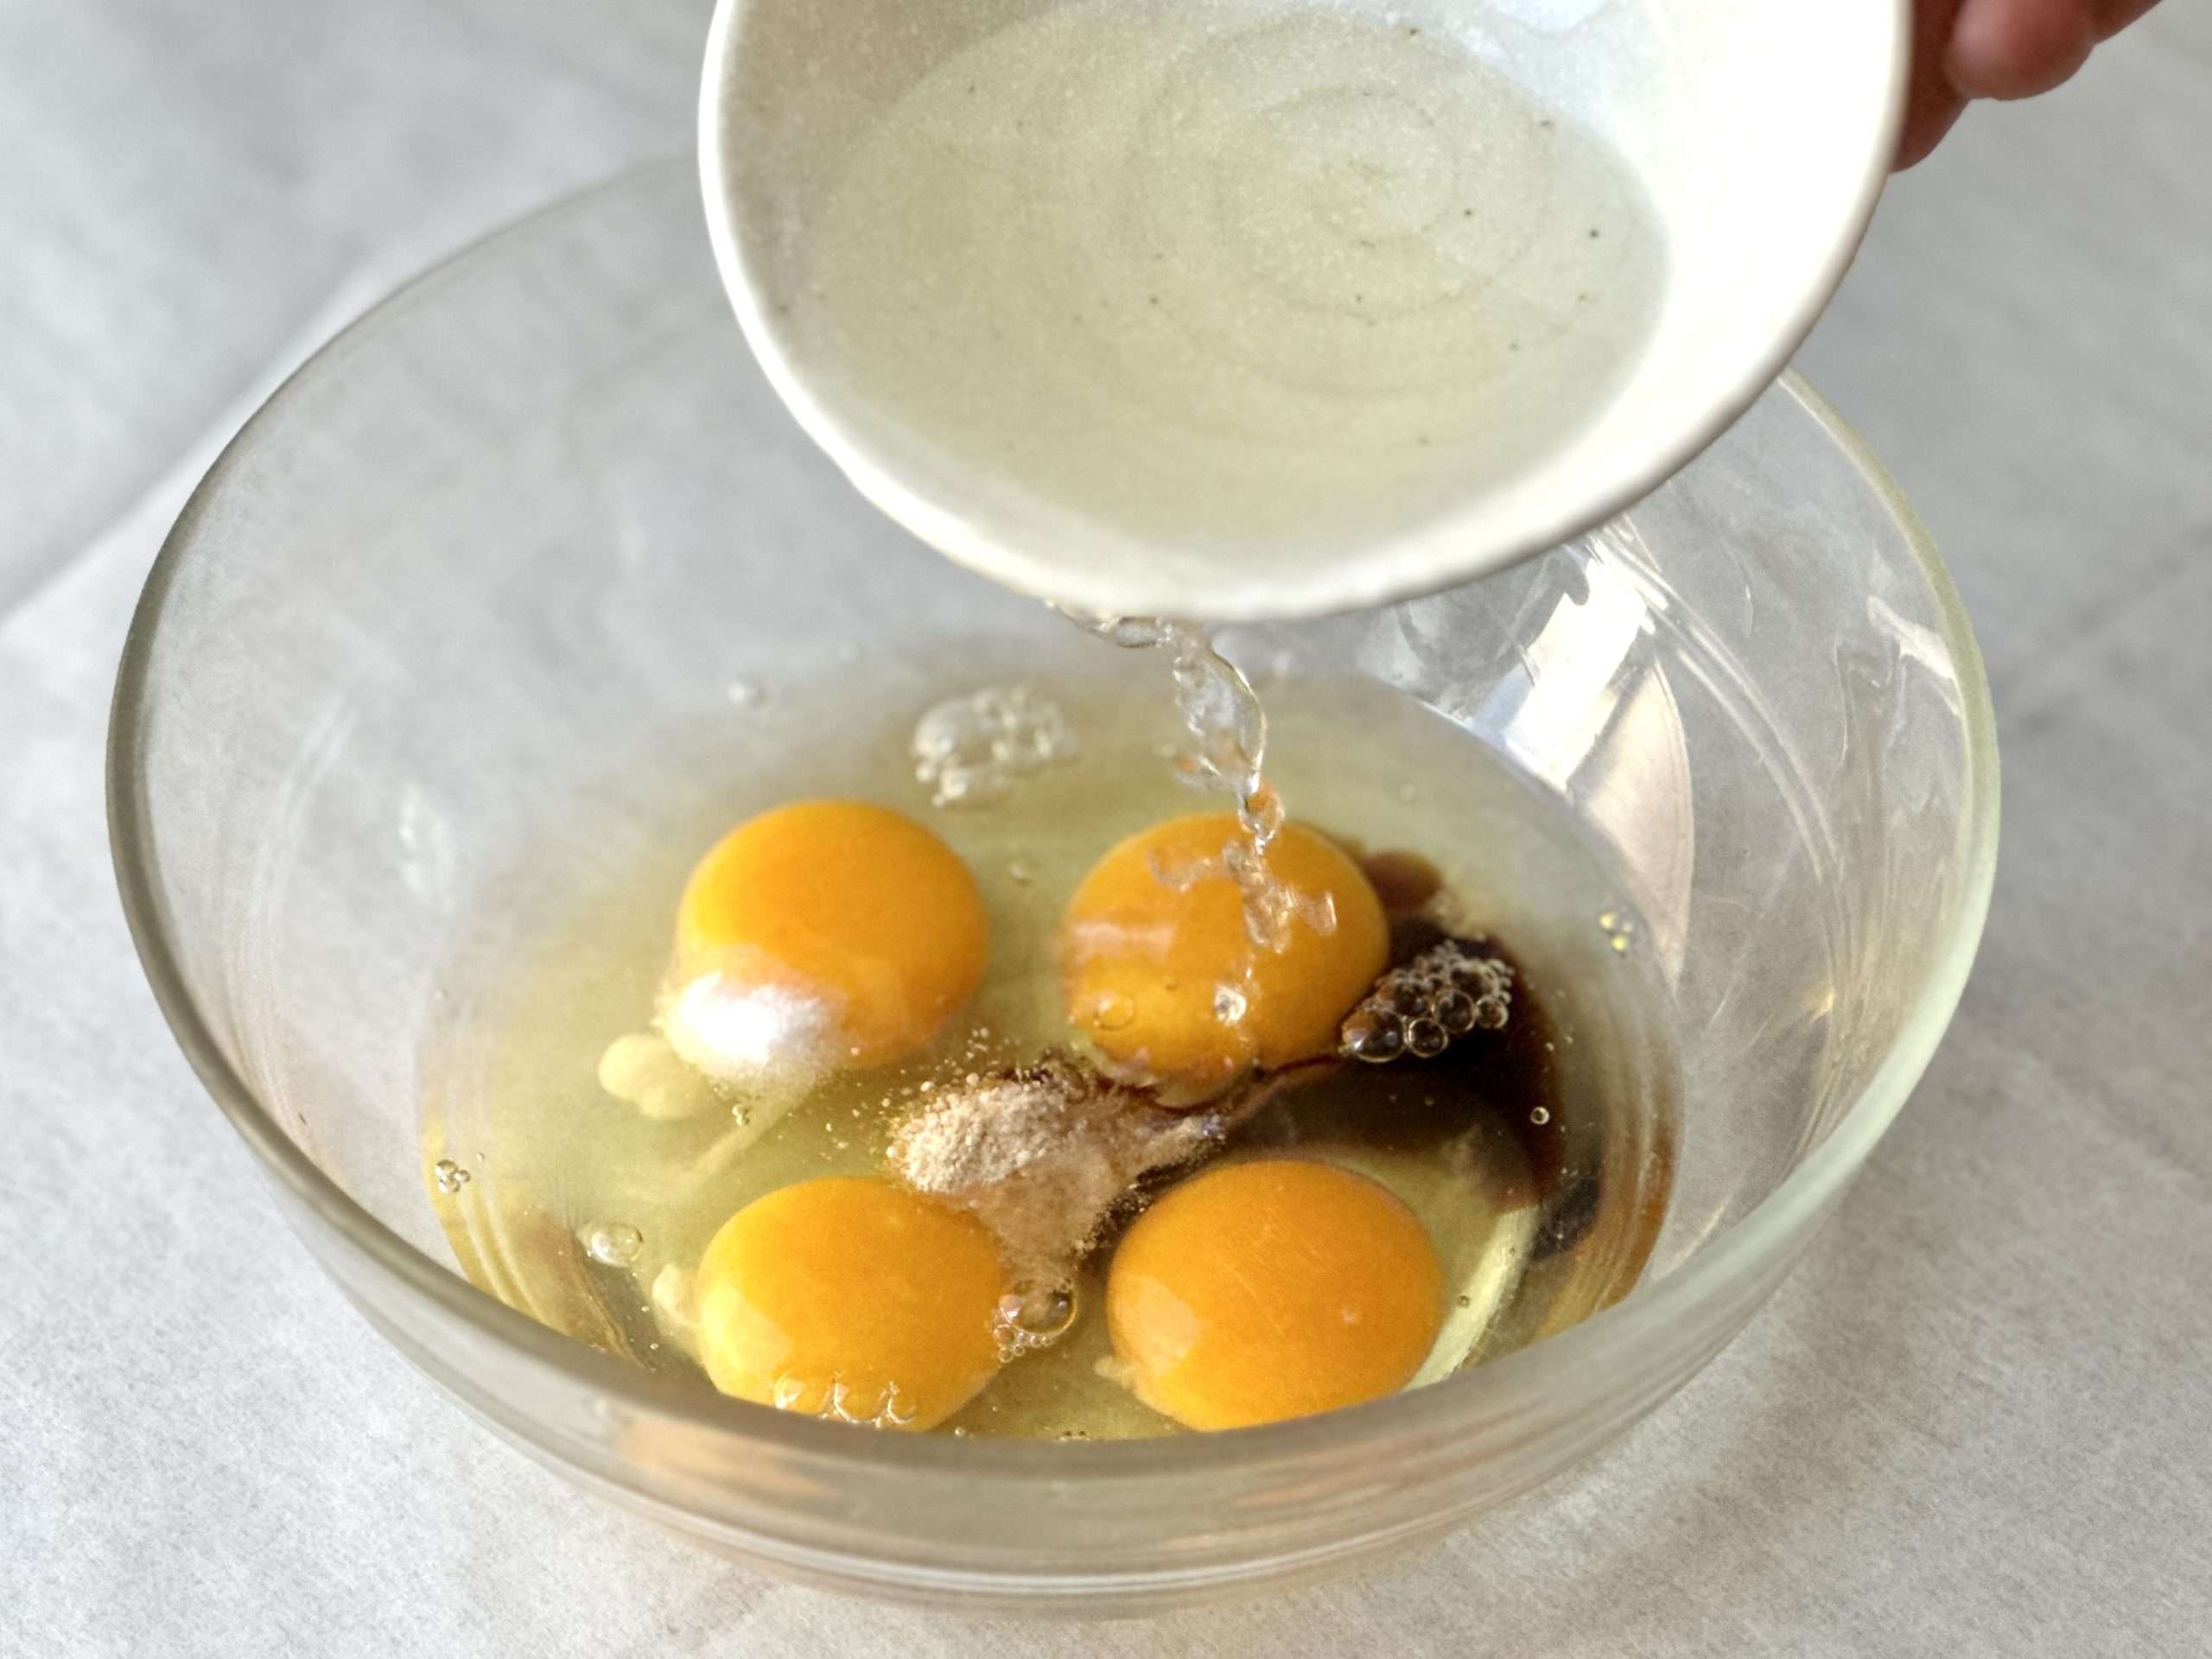
- Mix all the ingredients in a bowl.
- Heat a pan at medium high temperature and add oil. (A rectangular Tamagoyaki pan is best, but a round pan can work as well.)
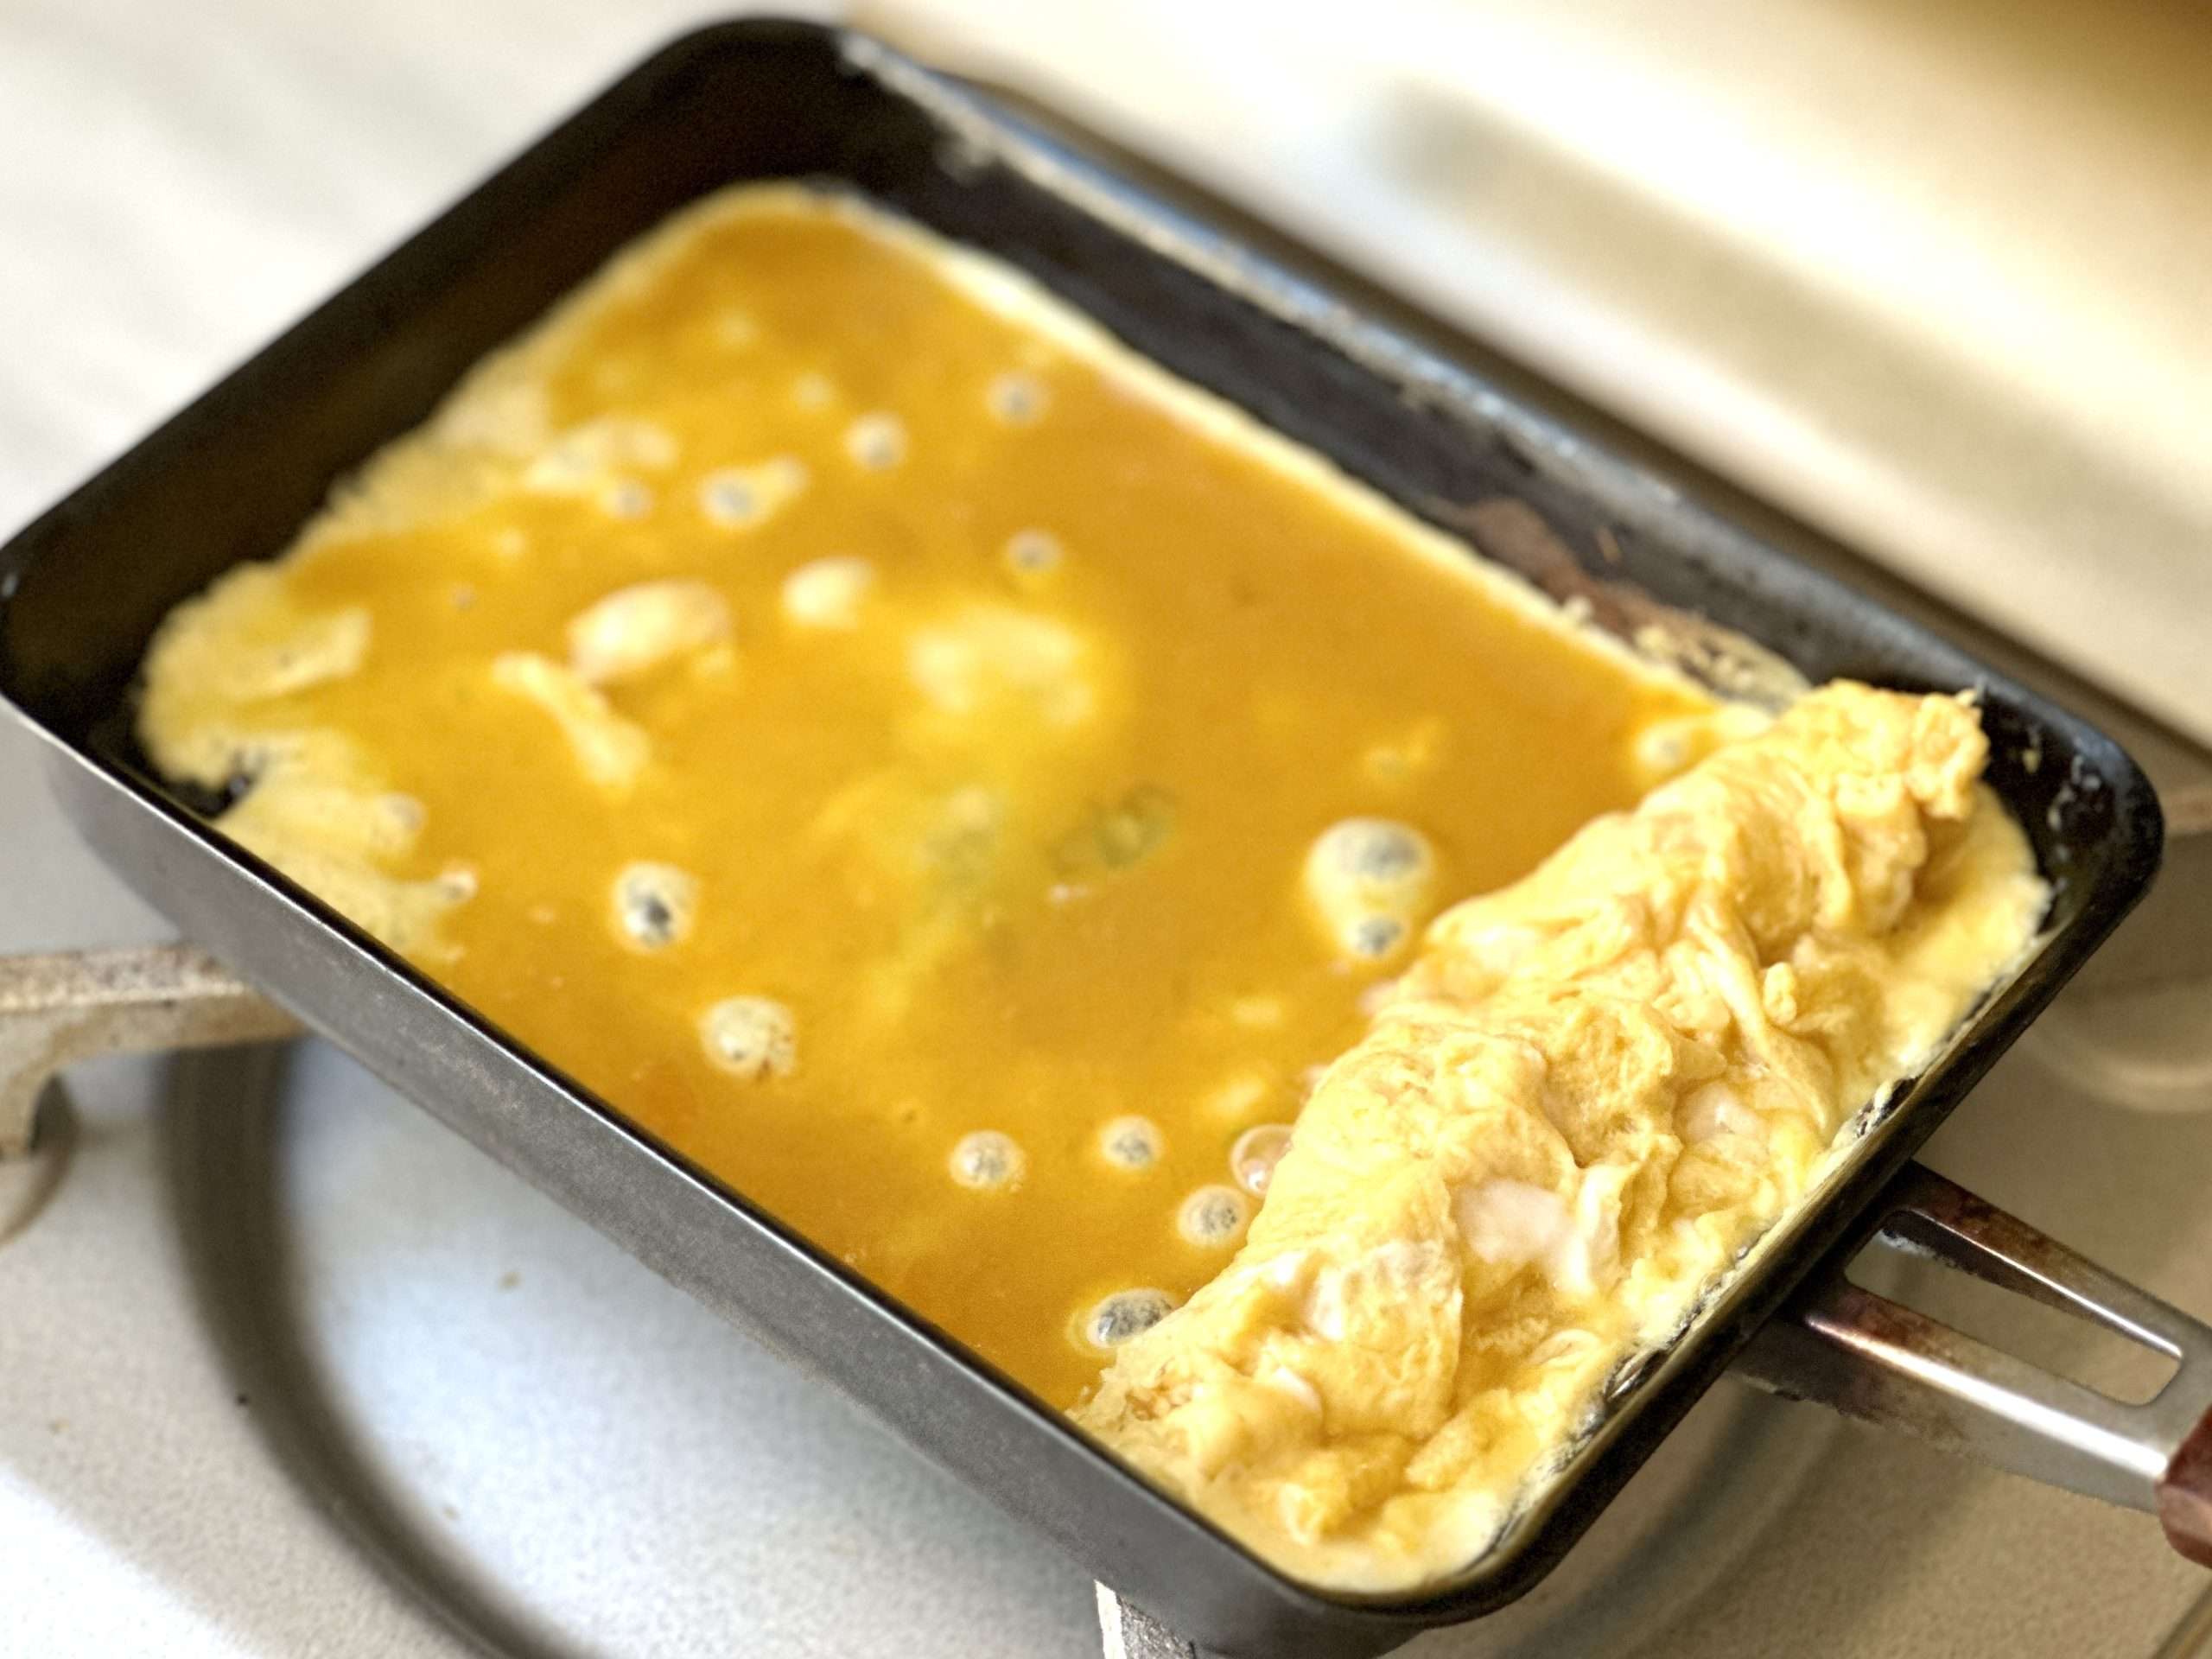
- Pour a thin layer of egg mixture in the pan, tilting to cover the bottom of the pan. After the thin egg has set a little, gently roll into a log. Start to roll when the bottom of the egg has set and there is still liquid on top. If you let the egg cook too much, it will not stick as you roll the log. Now you have a log at one end of the pan. Pour some more egg mixture to again cover the bottom of the pan, with the roll of egg at the end. After the new layer has set, roll the log back onto the the cooked thin egg and roll to the other end of the pan. (You can also keep rolling in one direction by sliding the rolled egg back to the same end of the pan before adding more egg.)
- Repeat adding egg to the pan and rolling until the egg mixture is used up.
- Remove the egg log from the pan onto a sushi mat, roll up lightly, and let it cool for 10 minutes.
- Unwrap the sushi mat and slice the log into 1/2″ thick pieces. You should see a wavy pattern along the edge of the cross section of the egg from the mat.